მთავარი
 ძირითადი
 დახმარების ცენტრი
Frag
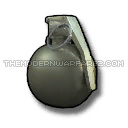 Description: You only get 1 cookable frag grenade. You can "cook"
a grenade by holding down the throw button and waiting for a while.
After you throw it, the grenade will explode much faster and that way
you have a better chance of killing someone. Frags can easily bounce and
roll downhill.
Description: You only get 1 cookable frag grenade. You can "cook"
a grenade by holding down the throw button and waiting for a while.
After you throw it, the grenade will explode much faster and that way
you have a better chance of killing someone. Frags can easily bounce and
roll downhill.Unlocked at level 4.
Semtex
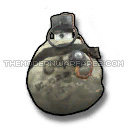 Description: You get 1 Semtex grenade. It can't be cooked like a
frag grenade and the throwing distance is much shorter. Semtex grenades
have a blinking red light and a loud beeping sound, which increase as
it's about to explode.
Description: You get 1 Semtex grenade. It can't be cooked like a
frag grenade and the throwing distance is much shorter. Semtex grenades
have a blinking red light and a loud beeping sound, which increase as
it's about to explode.These stick to almost anything, even on other players. Use these against Riot Shield users, it's a certain death to them.
Unlocked at level 4.
Throwing Knife
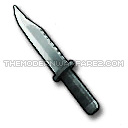 Description: You only get 1 knife, but it's a one-hit kill, if it
hits. Hold down the throw button to get an aiming reticule, after that
release the button to throw the knife.
Description: You only get 1 knife, but it's a one-hit kill, if it
hits. Hold down the throw button to get an aiming reticule, after that
release the button to throw the knife.Throwing Knives can be picked up and used again, so don't loose it. The knife travels in an arc and isn't meant for long distant throws, not accurate ones at least.
Unlocked at level 7.
Tactical Insertion
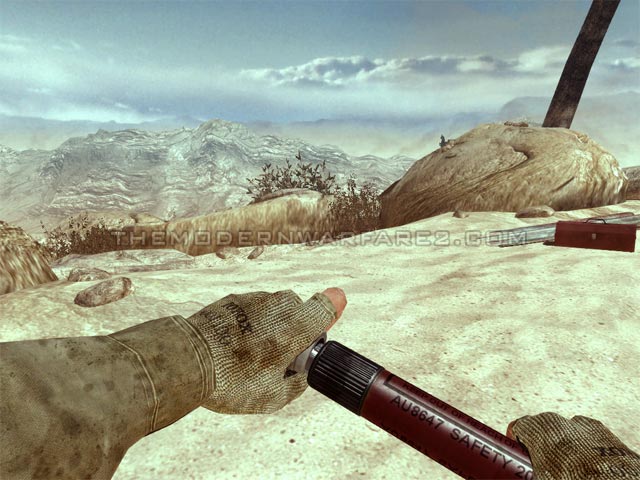
 Description: Light the flare and drop it on the ground. When you
die, you will respawn next to the flare, which will disappear, so
remember to use another one. Tactical Insertions can be picked up and
used on another spot.
Description: Light the flare and drop it on the ground. When you
die, you will respawn next to the flare, which will disappear, so
remember to use another one. Tactical Insertions can be picked up and
used on another spot.Flares can be easily destroyed by the enemy, so remember to hide them well. Friendly flares are green and enemy ones are red. Use the SitRep perk to see enemy Tactical Insertion more clearly.
Unlocked at level 11.
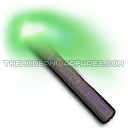
Lighting the Flare
Friendly Flare
Blast Shield
 Description: Reduces explosive damage to 65%, thus ensuring high
survivability. This can be equipped as pleased, but it only protects you
when it's on. Combined with the Riot Shield, you can survive almost everything head-on.
Description: Reduces explosive damage to 65%, thus ensuring high
survivability. This can be equipped as pleased, but it only protects you
when it's on. Combined with the Riot Shield, you can survive almost everything head-on.When the Blast Shield is equipped, it blocks the edges of your screen and your radar as well.
Unlocked at level 19.
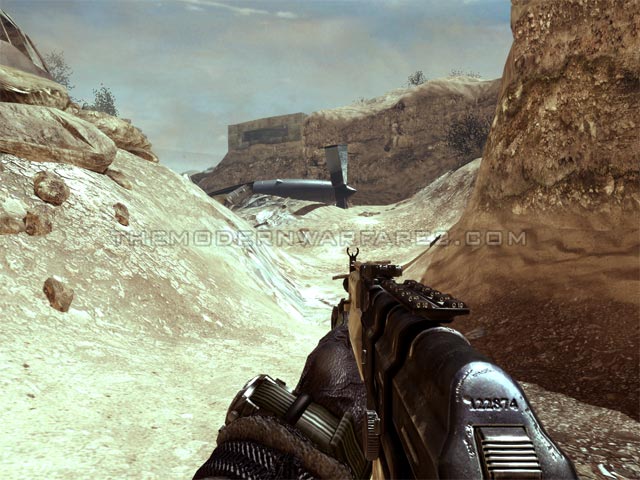
Blast Shield Off
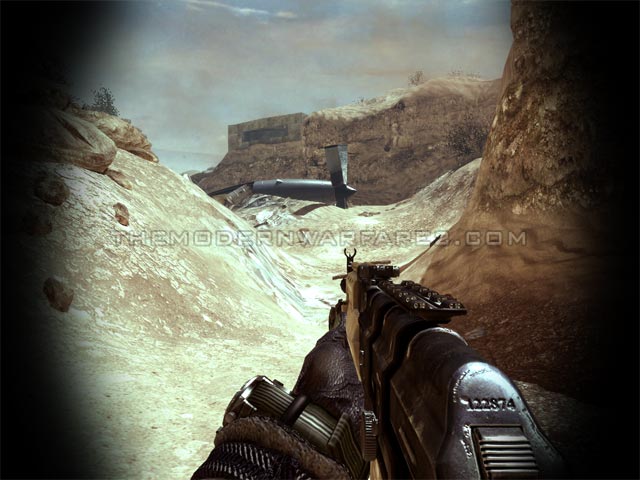
Blast Shield On
Claymore
 Description: You get 1 proximity activated explosive mine. The claymore activates after detecting an enemy and there is a 0.75 second delay before detonation, which you can be increased to 3 seconds with the Scrambler Pro perk.
This is useful for snipers and campers that want to protect their back.
Unlocked at level 31.
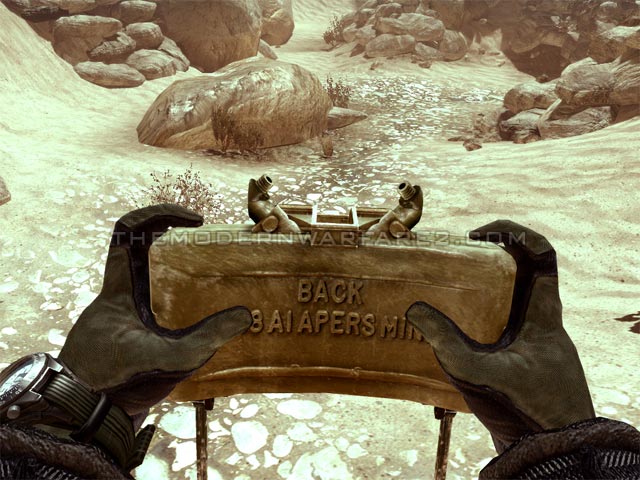
Claymore Back
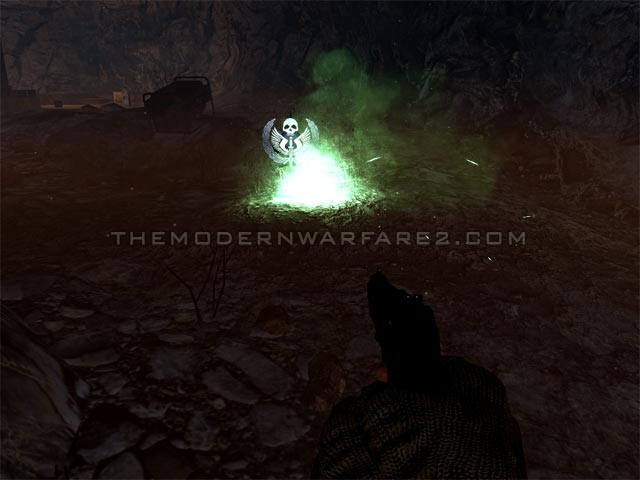
Friendly Claymore
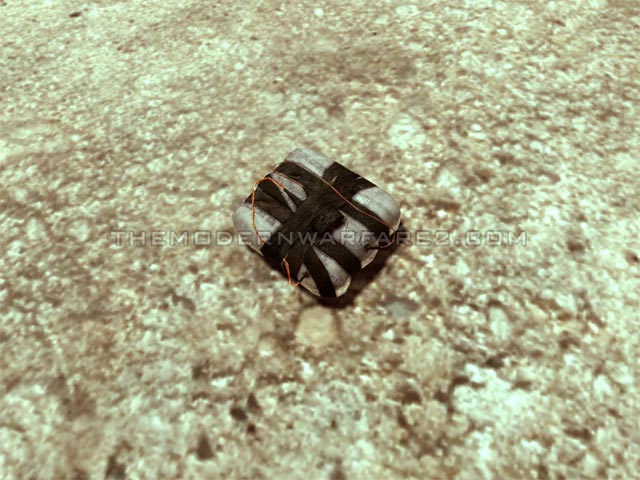
C4
 Description: You get one C4 explosive. Using this is pretty
straight forward: throw the satchel on the ground and blow it up by
pressing the same button.
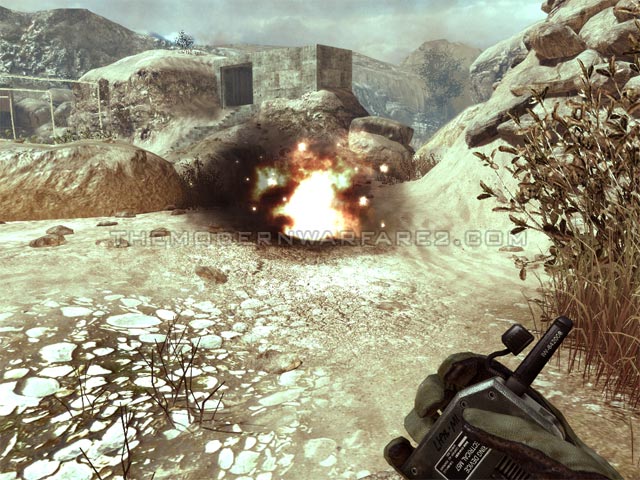
Description: You get one C4 explosive. Using this is pretty
straight forward: throw the satchel on the ground and blow it up by
pressing the same button.Unlocked at level 43.
C4 Satchel
C4 Dedonated
______________________
Specia granades
Description: You get 2 Flash Grenades. These blind and deafen the enemy for several seconds, depending on how far away they are from the initial blast. If they aren't directly facing the grenade, the flashbang doesn't do much.
If you see a Flash Grenade, try to turn around or get behind cover.
Stun Grenade
 Description: You get 2 Stun Grenades. This causes a mild flash
that doesn't effect for very long. The Stun Grenades main purpose is to
slow down your target for several seconds, giving you the chance to
shoot or even melee them.
Description: You get 2 Stun Grenades. This causes a mild flash
that doesn't effect for very long. The Stun Grenades main purpose is to
slow down your target for several seconds, giving you the chance to
shoot or even melee them.If you get stunned and you saw where the grenade came from, try to shoot there, as the enemy will most likely try to rush in.
Smoke Grenade
 Description: You only get 1 Smoke Grenade that creates a concealing smoke screen. The Thermal Scope attachment can see through the smoke.